School Mapping
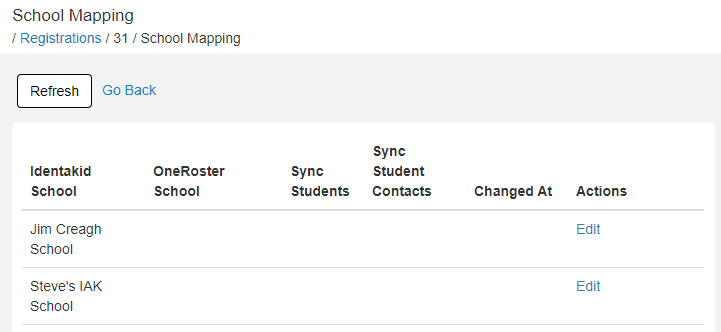
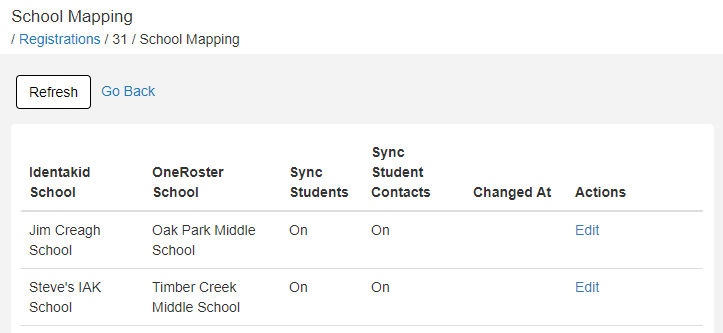
Once registration is complete and the initial sync is done we need to map the your school accounts from Identakid to the corresponding school through the OneRoster connection. To do this click school mapping on the Registrations page.

Here you will see all of your Identakid schools listed with an Edit button next to each. Clicking edit will allow you to choose the corresponding school to map and enable the importing of students and/or student contacts into your Identakid apps. Once all schools are active, click Refresh at the top, verify all is correct, then click Go Back.

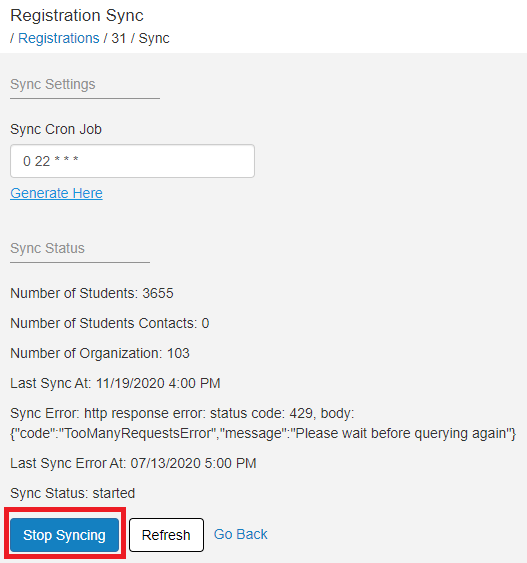
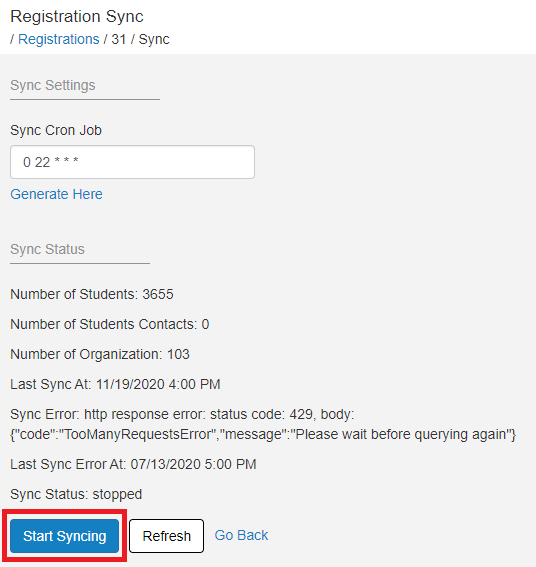
We must stop then start syncing again to obtain the student and/or student contacts list for each school. To do this click Sync on the Registrations page, click Stop Syncing, then click Start Syncing.


As you refresh(F5) the page you should see the student count rise. You can verify the students lists that were imported by checking the Students List within the schools manager app.
A Note About OneRoster Student Enrollment Status
The OneRoster specification (https://www.imsglobal.org/oneroster-v11-final-specification) dictates that only 2 statuses be used for determining student’s enrollment status at the school. These 2 statuses are:
Active - Student is active and should sync to IAK apps
ToBeDeleted - Student has withdrawn from the school and should be deleted from IAK apps
This means that if you use any other status for the students enrollment we may not be able to sync and update your student lists.
Plese check with your SIS to determine the statuses you are using.