Webcam
The webcam can be used to capture a photo during check-in. This includes the ability to require a face be present in the webcam image before a check-in can be completed.
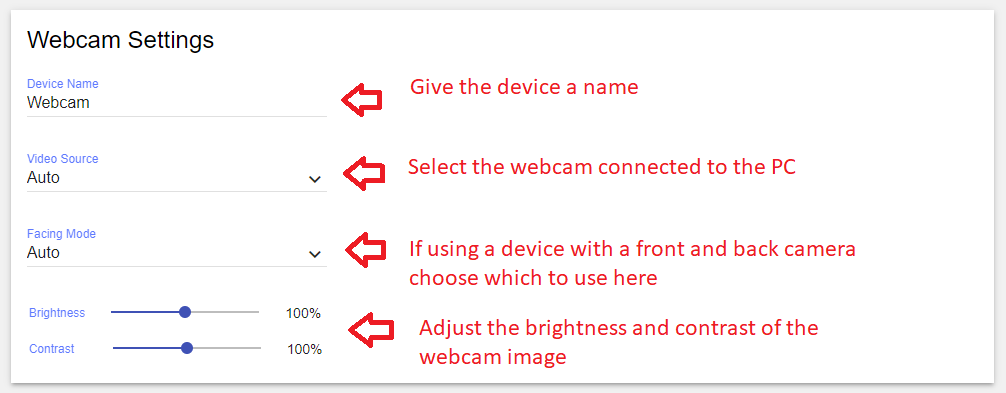
Device Name - Set a name for the webcam
Video Source - Select the webcam attached to the PC
Facing Mode - Choose front or rear camera(if using a smartphone)
There are sliders for brightness and contrast in case you need to make adjustments to the picture quality.
Face Detection - Enabling face detection will require a face to be present in the webcam image during check-in.

By enabling Require After Error, if there is no face detected or if another error happens, the check-in cannot continue.
Enabling Skip After Failure will allow the user to skip after 3 unsuccessful attempts to detect a face.
An internet connection is required for face detection to work properly.
Things of Note/Best Practices:
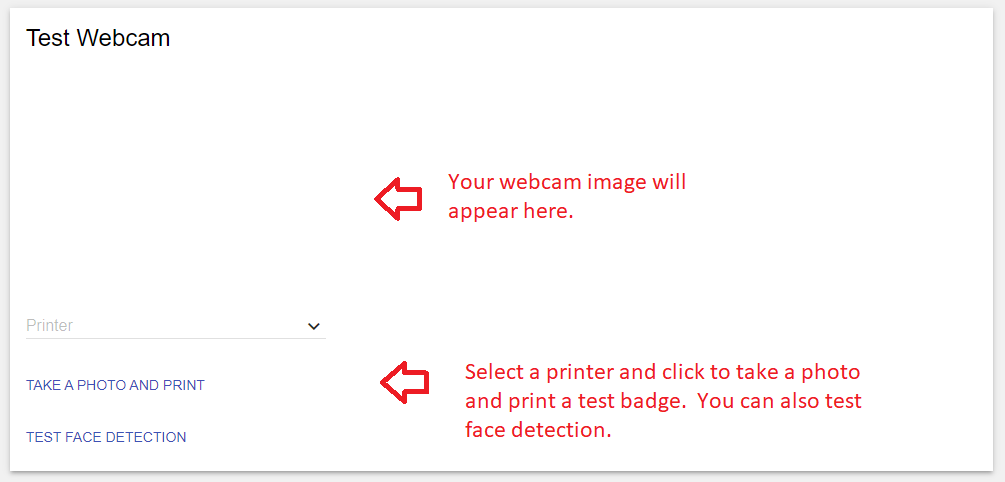
Be sure to test the webcam and face detection on the config page.
Poor lighting or visitors wearing masks, hats or glasses can adversely affect face detection.
Be sure your web browser has access to the webcam. In Chrome, you can verify this by clicking the lock icon to the left of the URL in the address bar, clicking Site Settings, then making sure the camera is set to Allow. You may have to reload the web page for the change to take effect