Step 4 - Map Your Schools
After your school list is synced we need to map those schools to your active Identakid schools.
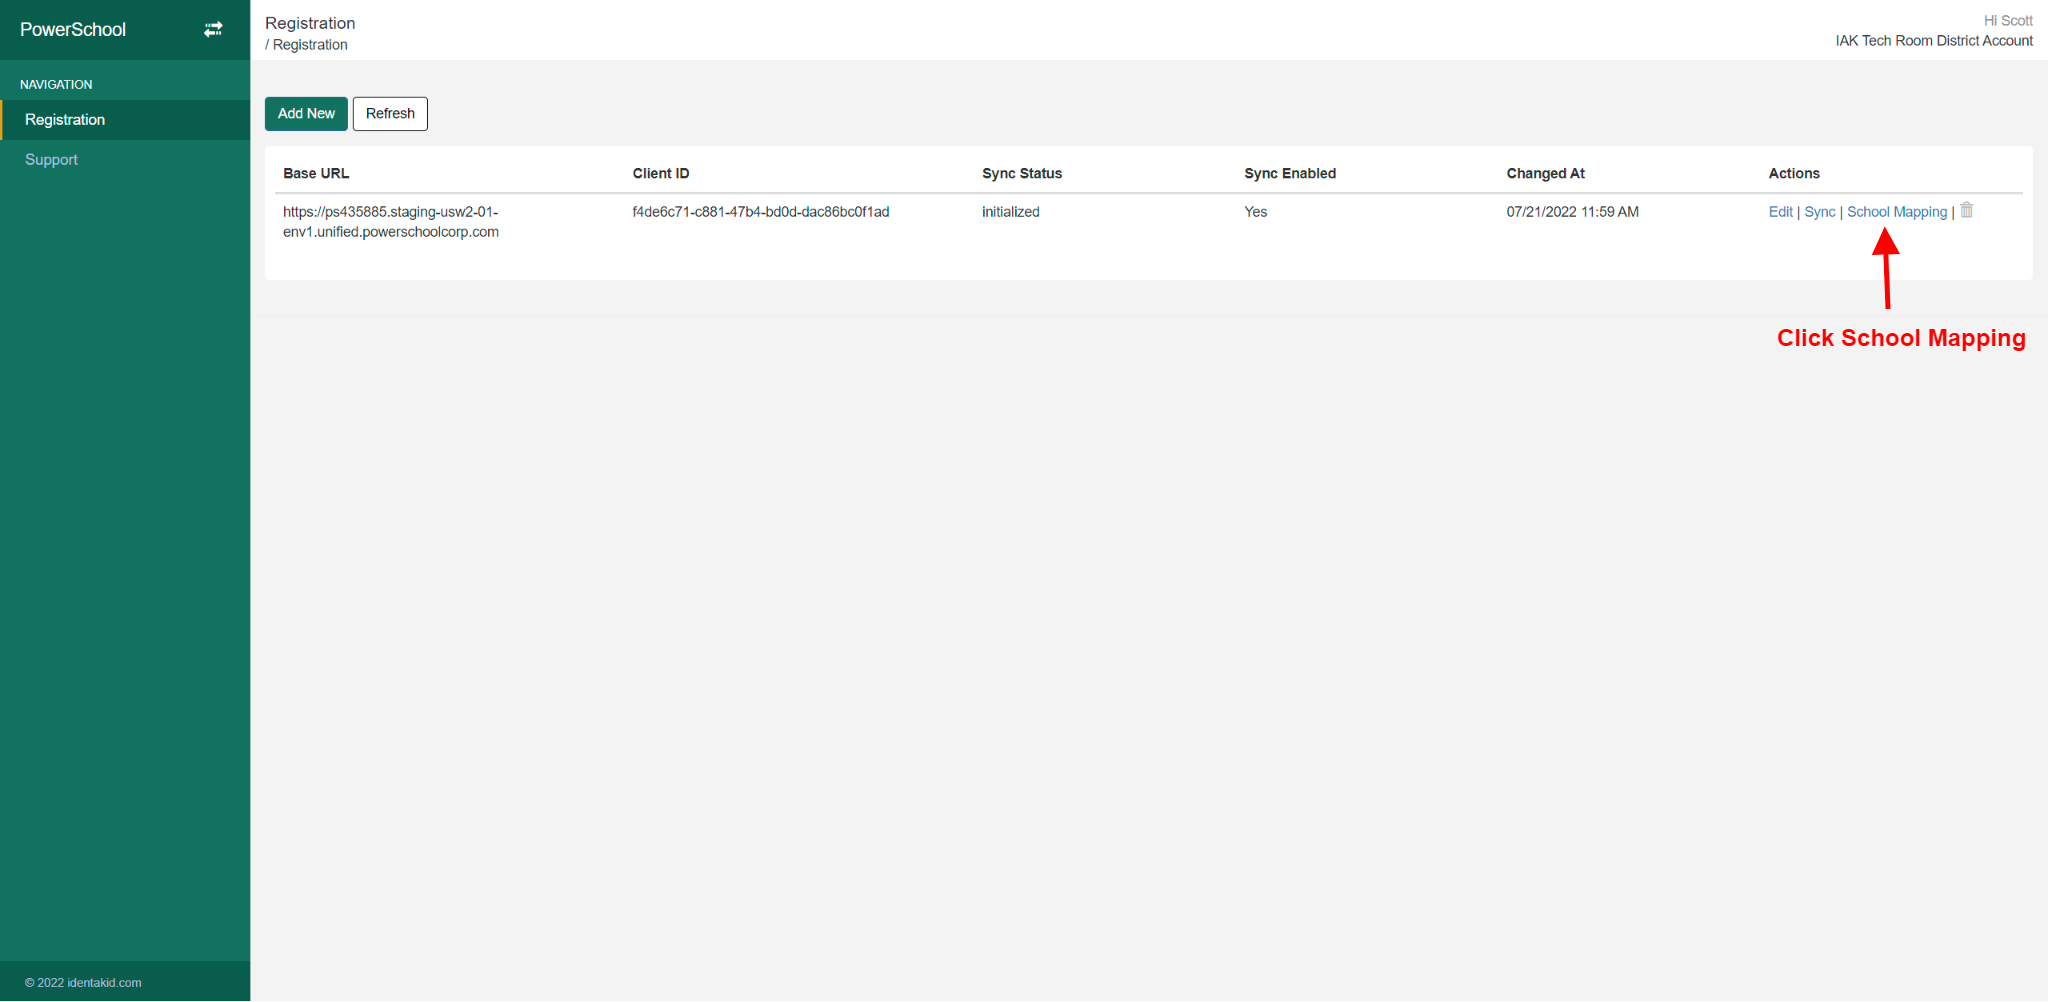
On the Registration page, under Actions click School Mapping.
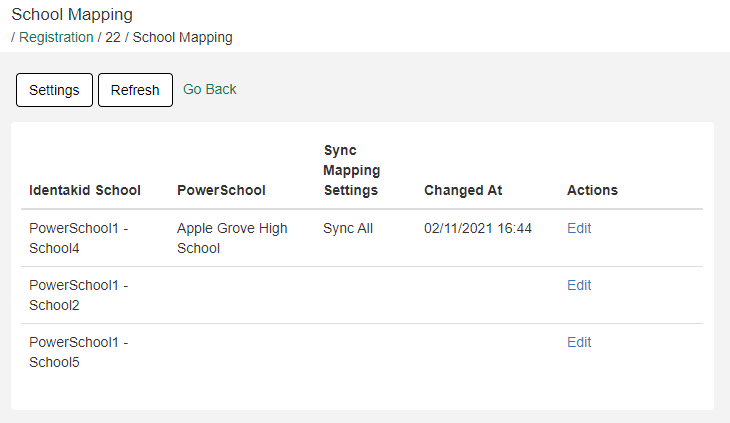
On the school mapping page you will see all of your schools listed with an Edit button next to each. Clicking Edit allows you to select the school to map and to set sync settings for each school.
Sync Settings
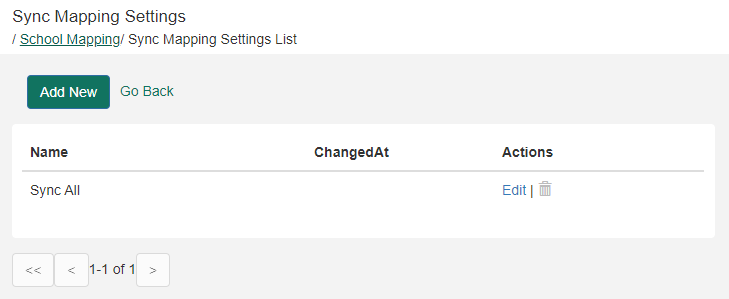
Each school can have its own sync settings. These settings allow you to select what you want to sync. Below you can see a default Sync All setting. Here you can click Add New To create a new template.
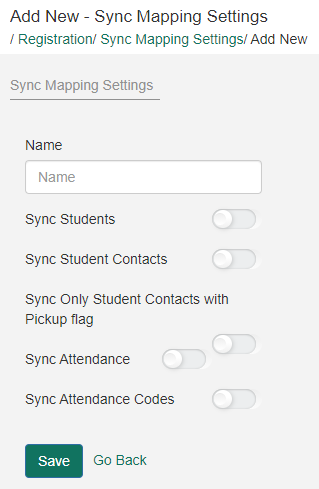
Here simply type in a name for the settings you are going to apply and select which items to sync.
Sync Students - Will sync all students
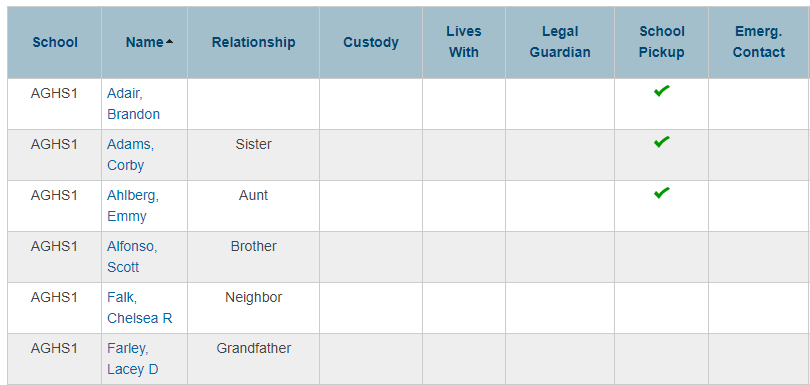
Sync Student Contacts - Will sync all student contacts (More information on student contacts here )
Sync Only Student Contacts with Pickup Flag - This setting determines what student or contact data will sync to your Identakid applications. For more information on this settings click here .
Sync Attendance - Will sync back attendance to Powerschool
Sync Attendance Codes - Will sync all attendance codes
Once you have the sync settings you want, click Save
When mapping the schools you can now select that template you created for each school.
The last step is to select a sync schedule and start the connection